1. Shop!
It was so much fun to pick out the plates for our wall. My mom and I did most of the shopping around New York City when she was in town visiting. We loved the selection at Fish's Eddy and Anthropologie, and purchased most of the plates at these two stores. I also found a lot of amazing vintage dishware on Etsy.
2. Order adhesive plate hangers.
My mom found these for me on Amazon and they worked really well. I like that when the time comes to take the plates down, the discs can be easily removed with warm water. I ordered three different sizes to accommodate my plates.

Before adhering the discs to the plates, I matched them all up according to size.

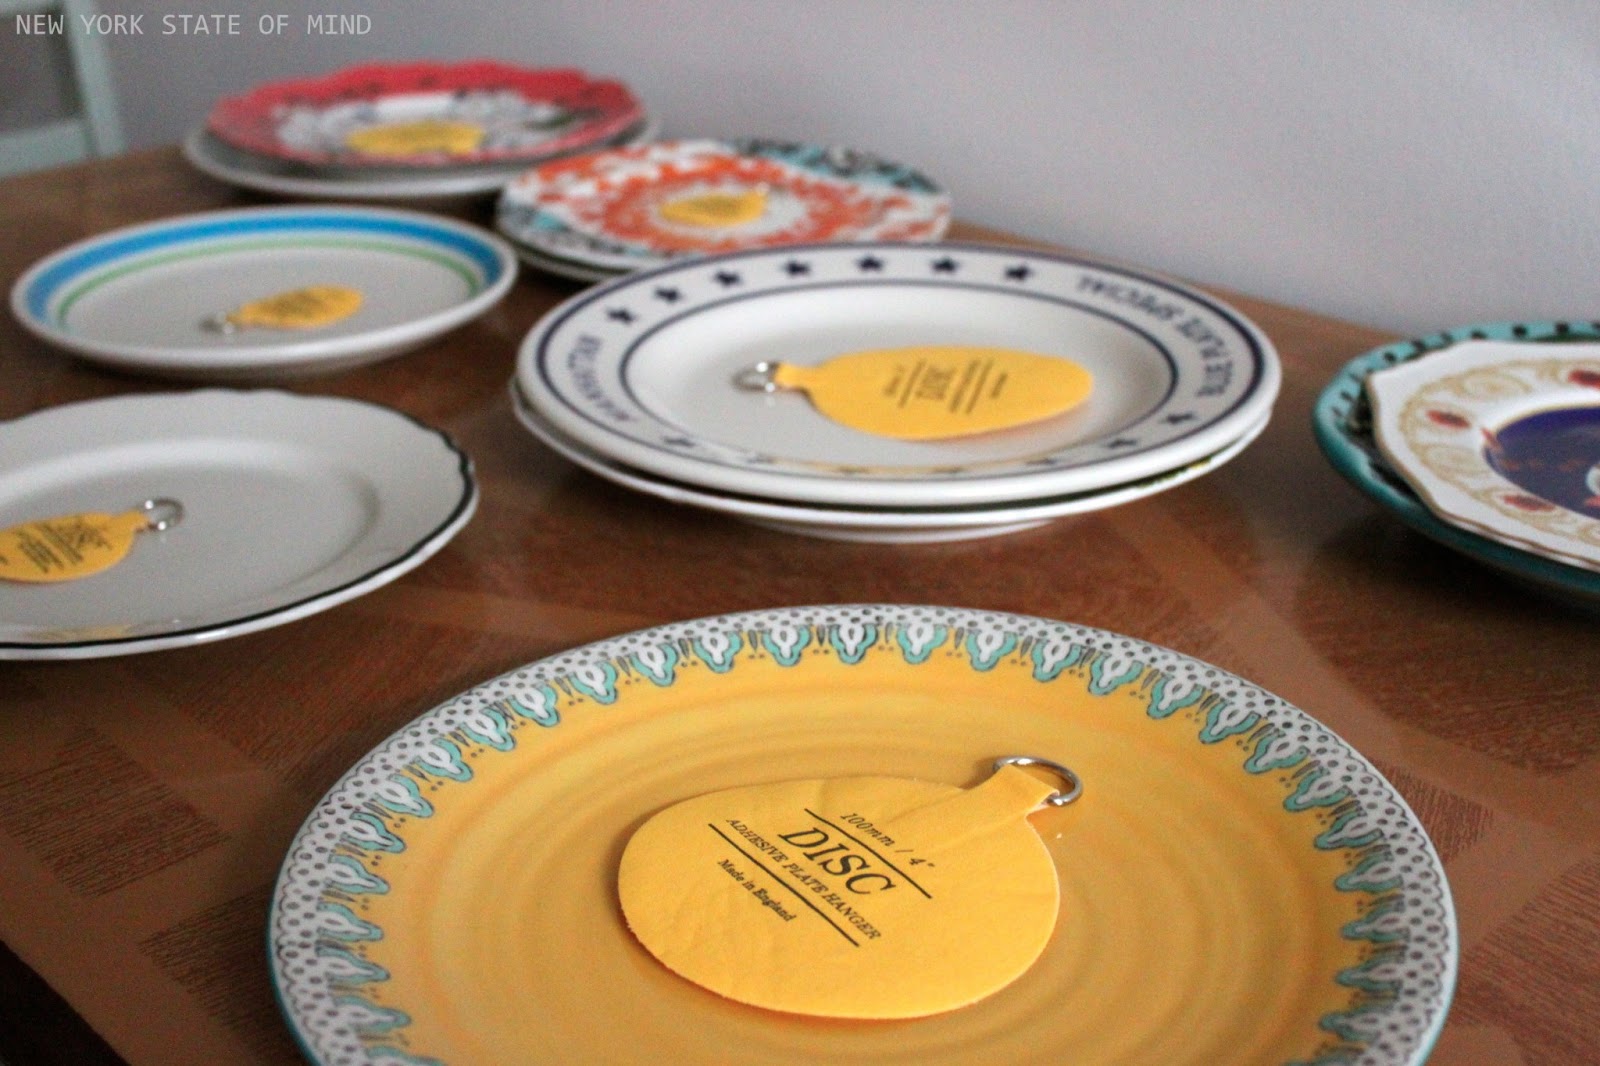
The yellow discs were really easy to mount on the plates. After wetting the discs and letting them sit for several minutes, I firmly pressed them onto the backs of the plates. The discs needed to set for 24 hours before hanging.


While the yellow discs were drying, I traced my plates and cut them out. I labeled each plate with key words and colors that were important to keep in mind when hanging. With my pinned images open on my laptop, I arranged the plates on my wall with scotch tape. Personally, I think this step of the process was crucial. It allowed me to try out a lot of arrangements without damaging the wall.

Brian and I worked together to hang up all of the plates. It was important to measure the distance from the top of the metal hanger to the top of the plate before pounding nails into the wall. We used picture hanging hooks that could handle the weight of the plates.


It looks great!
ReplyDeletethat is very nice. I love it.
ReplyDeleteOoo thank you for sharing! I love these...and your wall is gorgeous. Cheers.
ReplyDeleteI LOVE this so much! It looks great! Thanks for the tutorial.
ReplyDelete